Building a PC
Building a PC can be exciting and rewarding. Instead of buying a prebuilt computer, you can choose your own parts and create a system that fits your needs. This page explains the main steps and components in building a computer.
Who this is for: First-time builders or anyone curious about PC hardware basics.
Section 1: Choosing Parts
To build a PC, you need to pick the right components. Each part has a role in making the computer work.
- CPU (Processor): Handles instructions; the “brain” of the PC.
- Motherboard: The main board that connects all parts.
- RAM (Memory): Stores temporary data for quick access.
- Storage (SSD or HDD): Saves files, games, and programs.
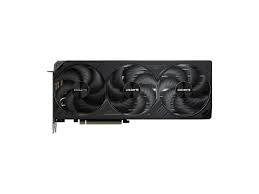
- GPU (Graphics Card): Handles visuals and games.
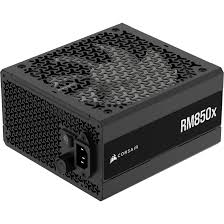
- Power Supply (PSU): Provides power to everything.
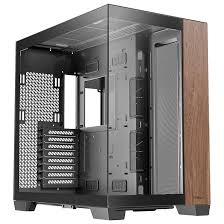
- Case: Holds all the parts together.
Pro Tip: Check CPU socket type and chipset compatibility with your motherboard. Make sure your PSU wattage is enough for your CPU/GPU and includes the right power connectors.
Common Mistake: Forgetting RAM speed/height clearance or buying a GPU that doesn’t fit the case length.
Section 2: Putting It Together
Once you have the parts, the next step is to assemble them. Think of it like a guided puzzle.
- Place the CPU and RAM on the motherboard.
- Mount the motherboard inside the case.
- Connect the power supply.
- Install the storage and graphics card.
- Attach fans or cooling systems.
- Connect cables and check everything.
Safety Tip: Touch a grounded metal object before handling parts to discharge static. Keep screws in a small dish so you don’t lose them.
Installing the Operating System
After building the PC, you need to install an operating system like Windows or Linux. This lets you run programs, games, and use the computer normally.
Pro Tip: Have a USB installer ready and keep your motherboard drivers on hand. After setup, run updates so everything is stable and secure.
Resources & Next Steps
- Read your motherboard manual for exact headers and front-panel pins.
- Look up case and GPU dimensions to confirm fit.
- Join a beginner PC building forum or class discussion for troubleshooting.
Quick FAQ
- How long does a first build take? About 2–4 hours if you go slowly and double-check steps.
- What basic tools do I need? Phillips screwdriver, USB drive for the OS, and patience.
- Do I need thermal paste? Most coolers include it; if not, apply a small pea-sized dot.
Example Budget Build (Simple)
- CPU + Stock Cooler
- Compatible Motherboard
- 16 GB RAM
- 500 GB–1 TB SSD
- Entry-level to mid GPU (optional if not gaming)
- 500–650 W PSU (80+ Bronze or better)
- Mid-tower Case
Adjust based on your needs—gaming, school, or content creation.
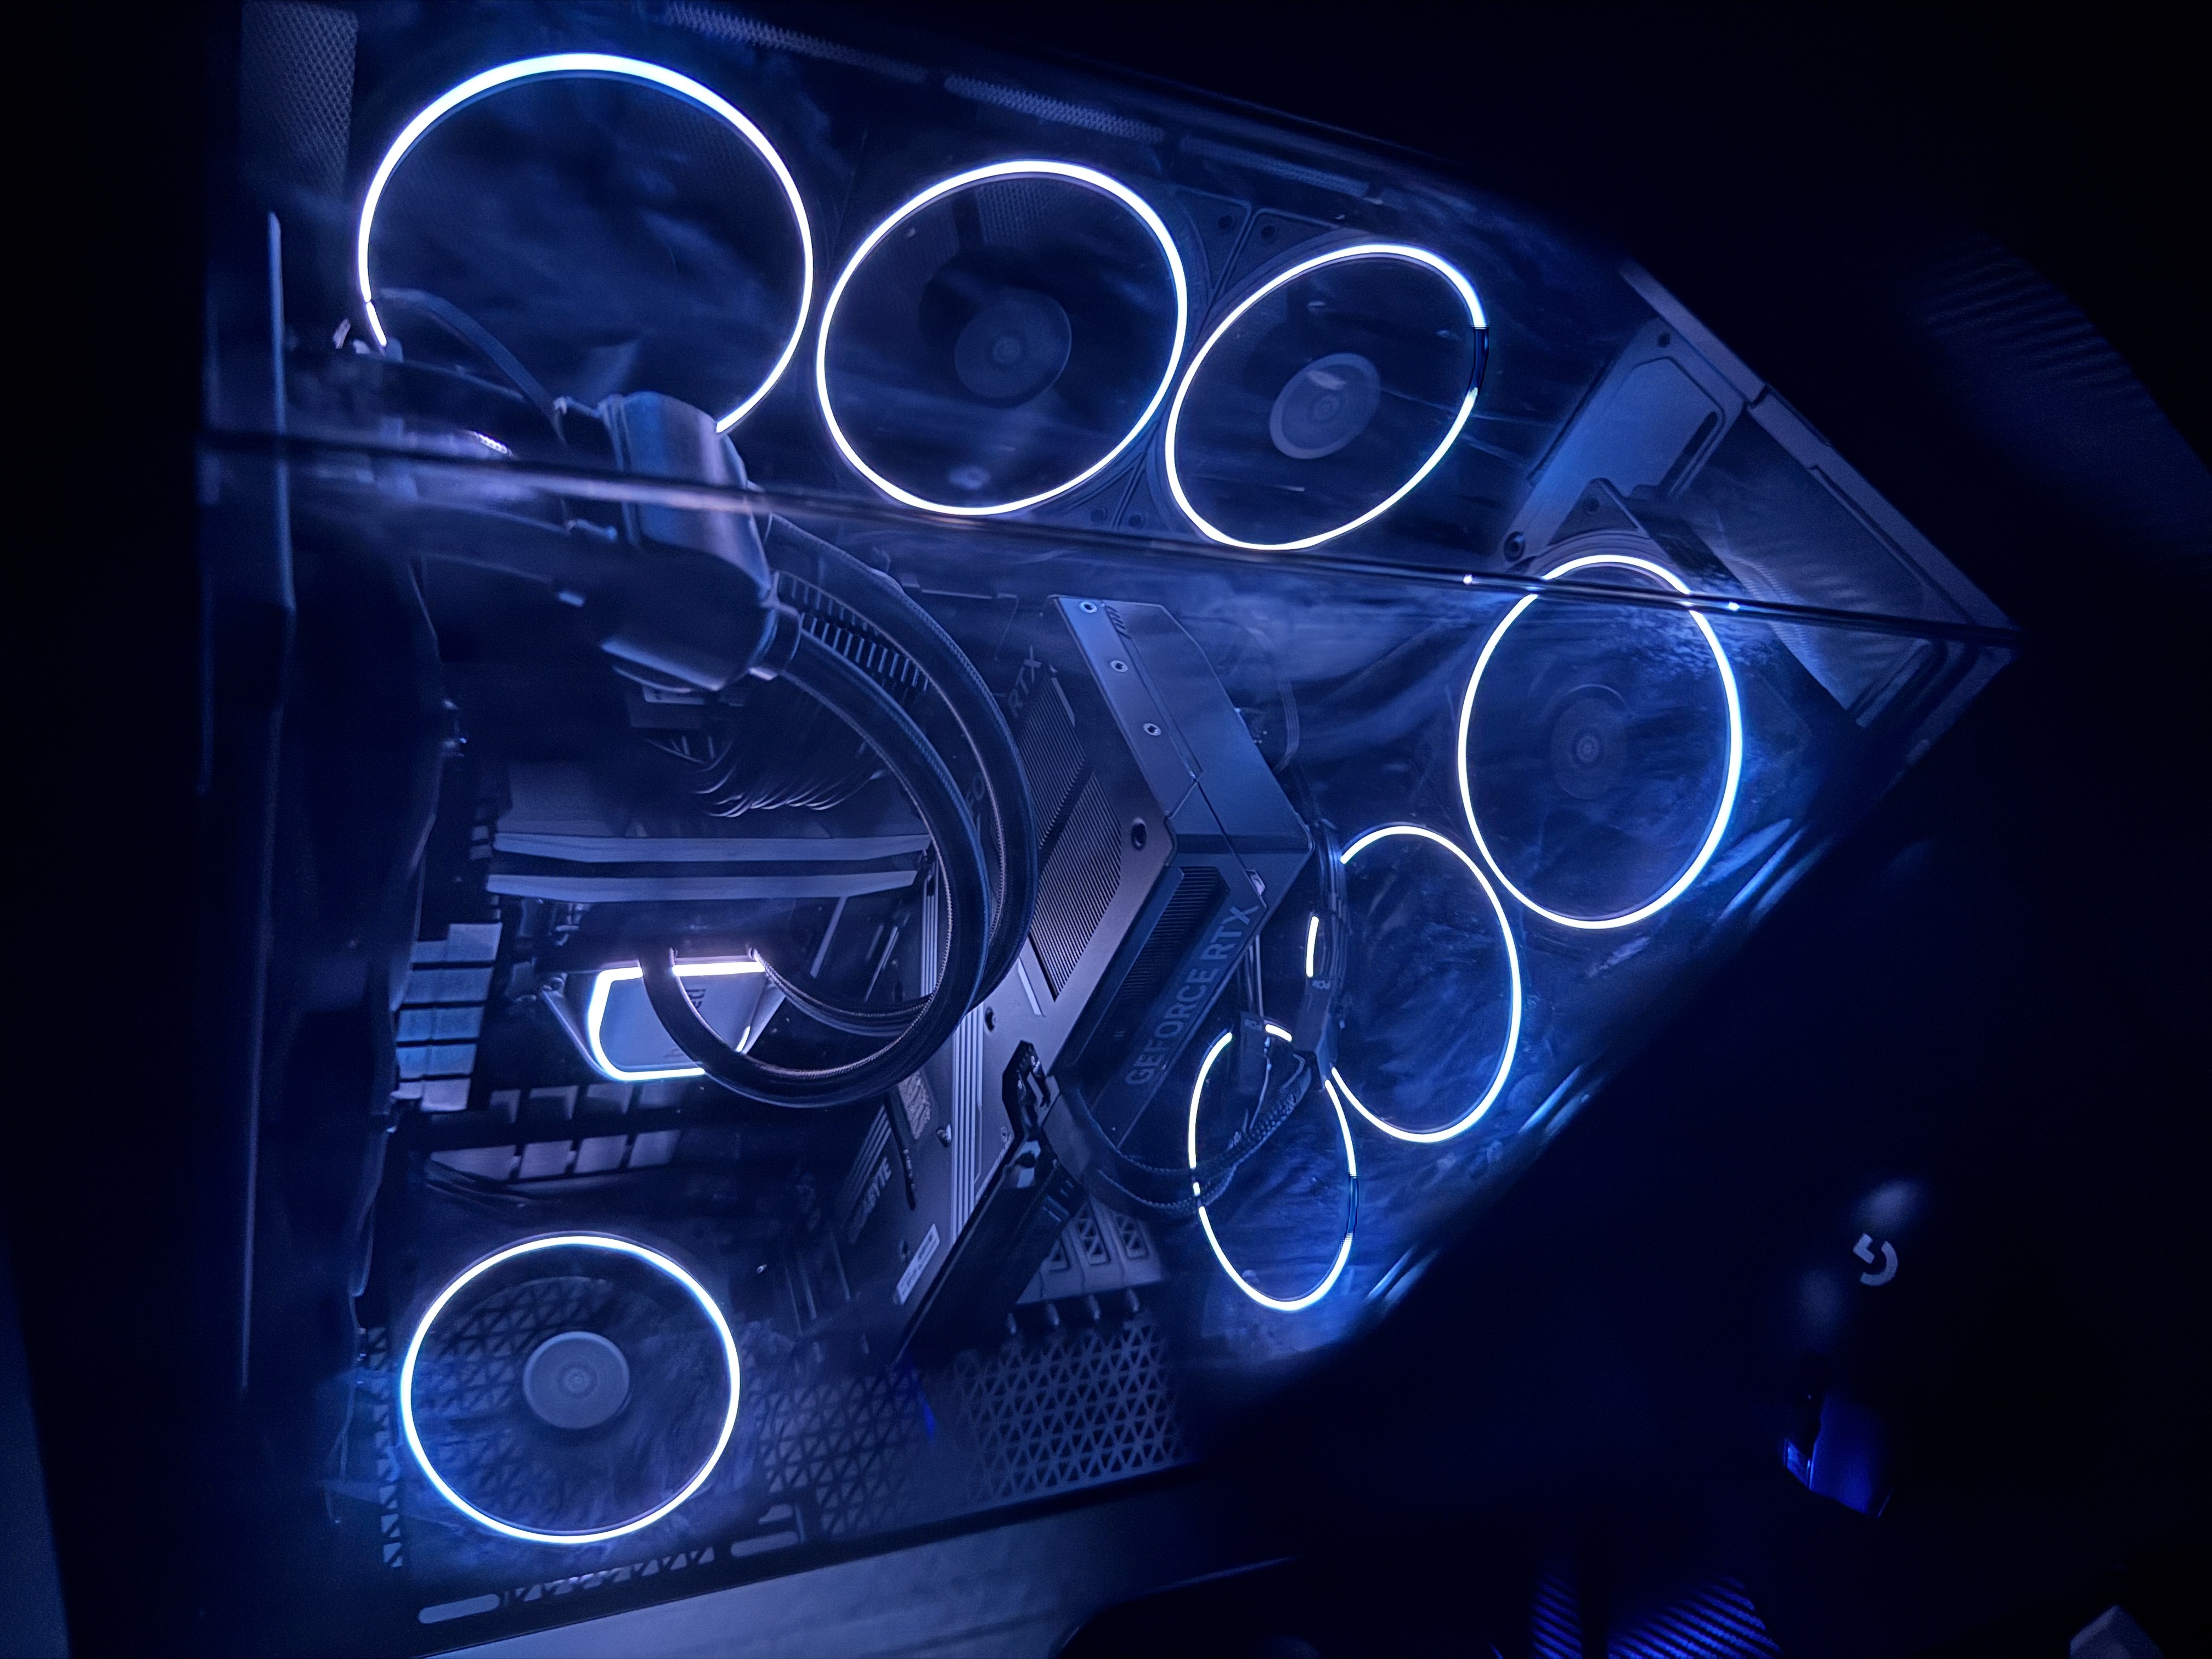
Conclusion
Building a PC takes patience, but it’s worth it. You can save money, customize your system, and learn how computers work. The best part is turning it on for the first time and seeing your creation come to life.